
Quick answer: Here’s how to use Canva AI: sign in to Canva, click the Canva AI button in the left panel, pick what you want to create (a design, image, doc, code or a short video clip), describe it in plain language and send. Canva AI returns several options you can pick from and keep editing in the familiar editor. The Free plan includes up to 20 AI uses a month, and Pro includes 200.
Canva AI is the set of artificial intelligence features built into Canva, replacing the old Magic Studio name. This guide walks you through how to use Canva AI step by step, with sample prompts and tips for designs that look professional. Details were checked against the official Canva AI page in October 2026. For a general overview of the tool, read what is Canva AI.
Updated: October 30, 2026
Contents
- Open the Canva AI assistant
- Create designs from a prompt
- Generate images
- Edit photos with AI
- Magic Write and Translate
- Make presentation slides
- Tips for professional results
- Free and Pro limits
- FAQ
Step 1: Open the Canva AI assistant
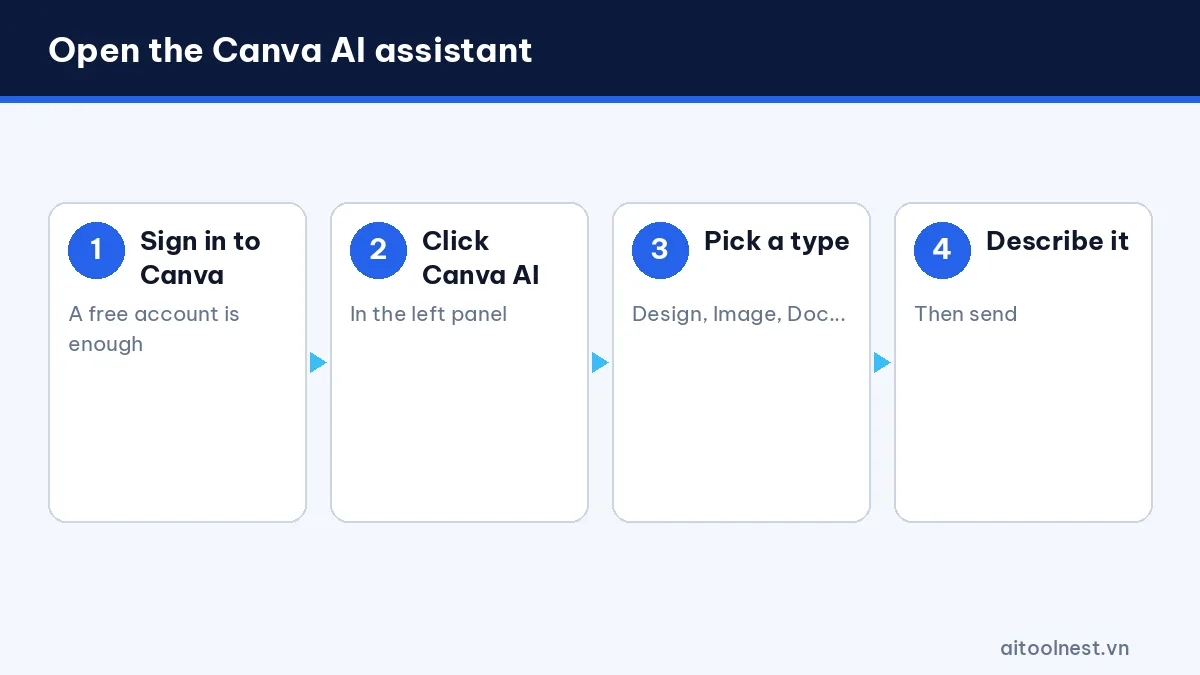
You can use Canva AI on canva.com, in the desktop app or in the mobile app. To get started:
- Sign in to Canva with Google, Facebook or email (a free account is enough to try it).
- On the home page, click the Canva AI button in the left panel.
- Choose a content type: Design, Image, Doc, Code or Video clip.
- Type your description in the chat box and send it.
Besides the assistant on the home page, many AI tools also live inside the editor and appear when you select a photo or a text box.
Step 2: How to use Canva AI to create designs from a prompt
This is the biggest time-saver. Instead of hunting for a template, you describe the design you need and Canva AI builds an editable draft. A good prompt includes:
- Design type and size: square Instagram post, story, A4 poster, Facebook banner.
- Text content: headline, key details and call to action.
- Style and colors: minimal, modern, pastel blue.
- Audience: students, office workers, parents.
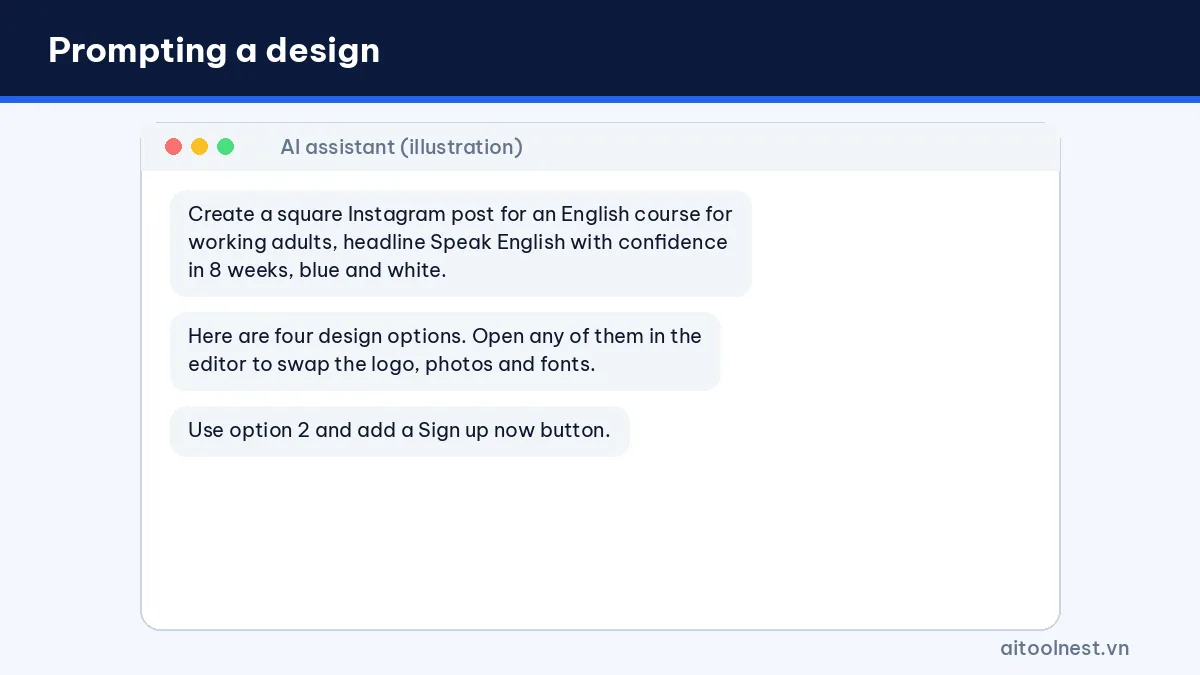
Example: “Create a square Instagram post promoting a conversational English course for working adults, headline Speak English with confidence in 8 weeks, modern style, blue and white, with a Sign up now button.” When the results appear, choose the option you like best and open it in the editor to swap in your logo, photos and brand fonts.
The more specific your prompt, the closer the result. Learn the method in our guide on how to write AI prompts.
Step 3: Generate images with Canva AI
Choose Image in the Canva AI assistant, describe the picture and pick a style (photo, illustration, 3D, watercolor and more). Tips for image prompts:
- Spell out the subject, setting, lighting and angle: “a cup of iced milk coffee on a wooden table, morning sunlight, close-up shot”.
- Add the aspect ratio that suits where you’ll post it.
- Avoid asking for long text inside the image; add text in the editor afterwards.
- Don’t create fake images of real people or other companies’ brands.
If the first batch isn’t right, change one thing at a time, such as the lighting or the style, so you can see what makes the difference.
Step 4: Edit photos with AI tools
Select a photo in your design and click Edit to see the AI tools:
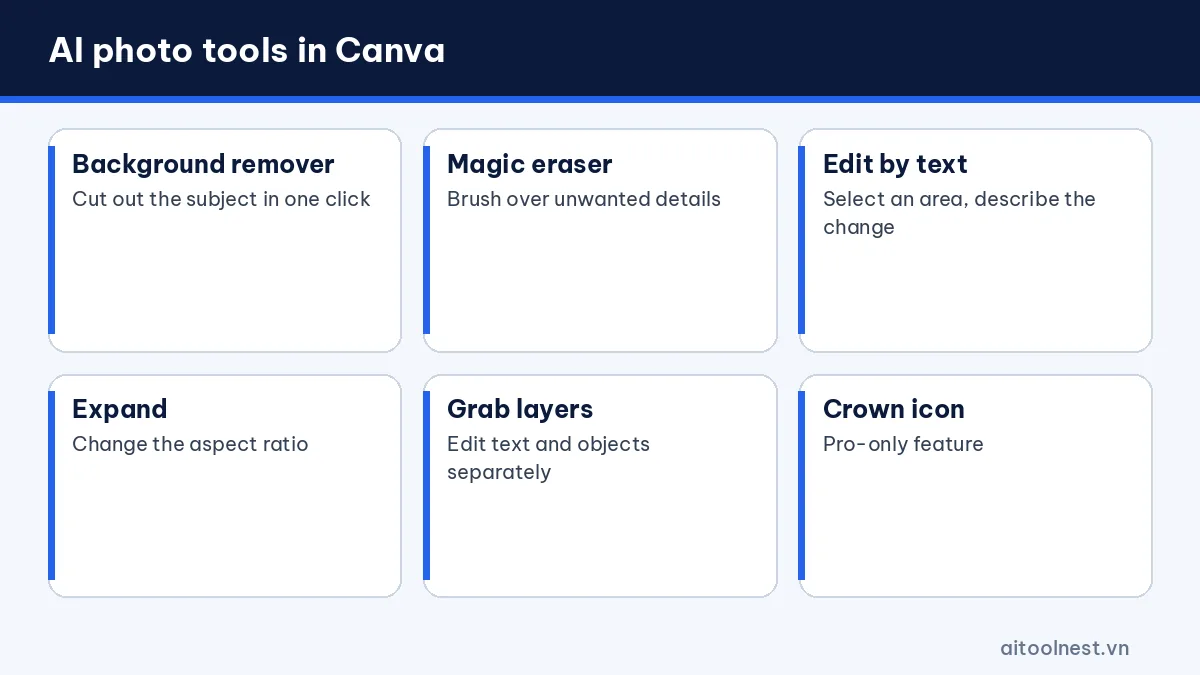
- Background remover: cut the subject out of the background in one click, ideal for product photos.
- Magic eraser: brush over unwanted details and AI removes them and fills in the background naturally.
- Edit by description: select an area and type what you want to replace it with.
- Expand: AI paints extra background when you need a different aspect ratio.
- Grab text and grab objects: turn an image into layers you can edit separately.
Some tools are Pro only; a crown icon next to a feature tells you so.
Step 5: Magic Write and Translate
Magic Write quickly writes captions, headlines, product descriptions or outlines right inside your design. Select a text box, click the Canva AI icon and ask it to “make this shorter”, “add a call to action” or “make the tone more playful”. Translate converts all the text in a design into another language while keeping the layout. According to Canva’s pricing page, Magic Write and Translate don’t count toward your AI usage allowance.
If you need longer copy for a blog or ads, see our seven-step AI content writing workflow.

Step 6: Make presentation slides with Canva AI
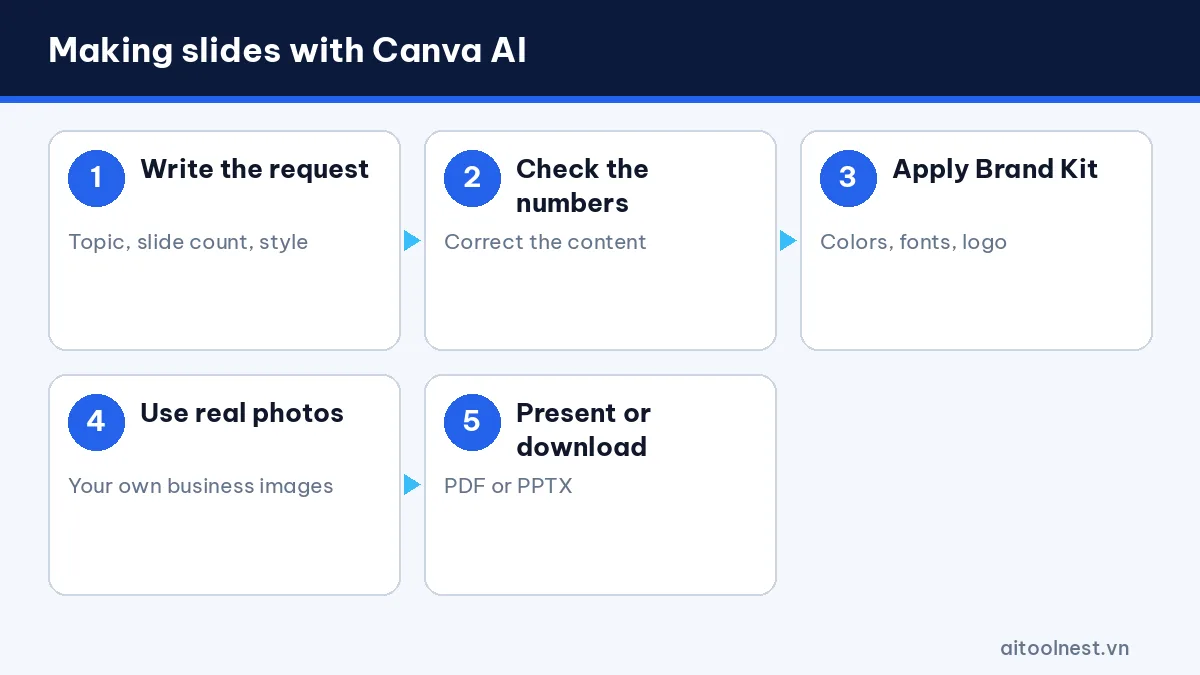
Choose Design in the assistant and ask: “Create an 8-slide presentation on the Q1 marketing plan for a cosmetics shop, minimal style.” Canva AI builds a deck with titles, layouts and suggested content. Then:
- Check the numbers and correct the content so it matches reality.
- Apply your Brand Kit if you have one.
- Replace illustrations with real photos of your business.
- Present directly from Canva or download as PDF or PPTX.
See how Canva compares with other slide tools in our roundup of the best AI presentation makers.
Tips to make Canva AI designs look professional
- Stick to two fonts per design: one for headings and one for body text.
- Use a consistent palette from your Brand Kit, or choose two or three main colors and apply them to every page.
- Leave white space: don’t cram in too much text; each design should carry one main message.
- Check on a phone: most social media viewers are on mobile, so text must be large enough to read.
- Name files and folders clearly so you can find designs again when you need to edit them.
When you work with a team, share designs with edit access and use comments instead of sending versions back and forth.
Using Canva AI on your phone
The Canva app for Android and iOS includes the same Canva AI assistant. Tap the Canva AI icon on the home screen, choose what you want to create and type or dictate your prompt. On mobile it’s especially handy for quick social posts: take a product photo, remove the background, ask Canva AI for a matching layout and post straight to Instagram or Facebook from the share menu.
A few mobile tips: zoom in to check small text before you publish, use Resize (a Pro feature) to adapt one design to several formats, and keep your brand colors saved so they appear in the color picker on every device. Anything you create on your phone syncs to your Canva account, so you can polish it later on a computer.
Canva AI limits on Free and Pro
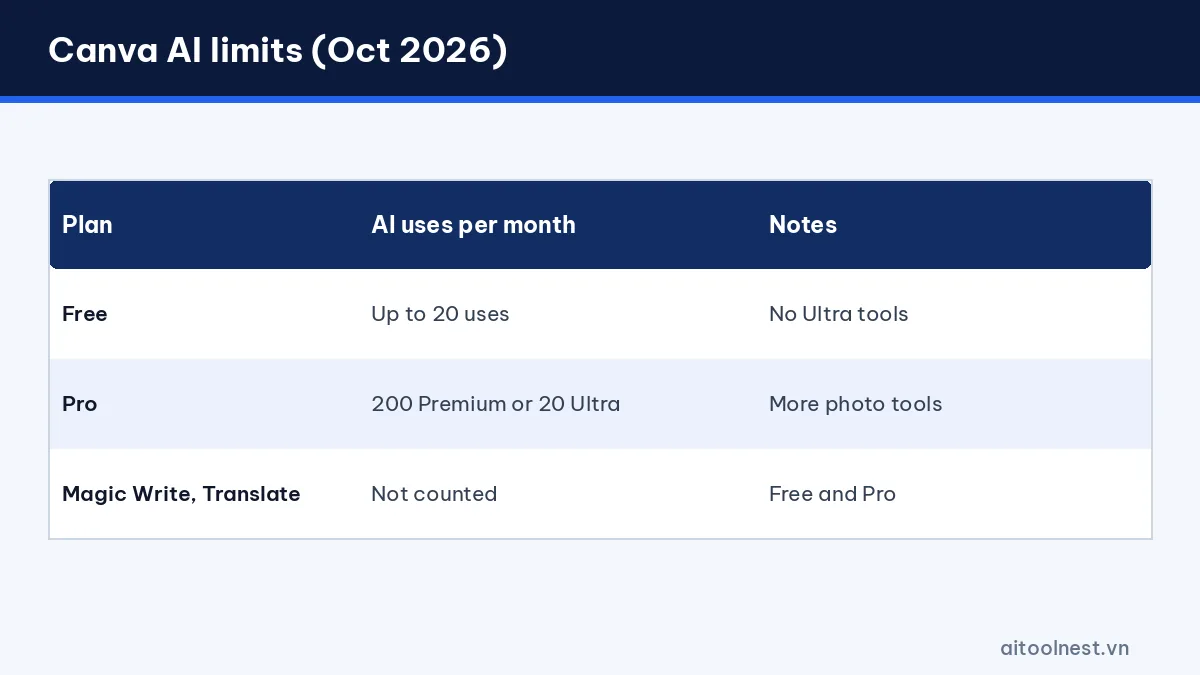
According to the Canva pricing page, AI usage works like this (October 2026):
| Plan | AI uses per month | Notes |
|---|---|---|
| Canva Free | Up to 20 Standard or Premium uses | No Ultra tools |
| Canva Pro | 200 Premium or 20 Ultra uses | Unlocks more photo tools |
| Magic Write, Translate | Not counted | On both Free and Pro |
To save uses, write a complete prompt from the start, fix small details by hand in the editor instead of regenerating, and use ready-made templates for simple designs.
Common Canva AI problems
- Garbled text inside AI images: delete it and add the text again with a text box.
- Designs that look “too template”: change the fonts, apply brand colors and add real photos.
- Running out of uses mid-project: wait for next month, consider Pro, or explore other options in our AI tools directory.
How to use Canva AI: frequently asked questions
Is Canva AI free?
Yes. A Canva Free account includes up to 20 AI uses a month. Magic Write and Translate don’t count toward that allowance. Canva Pro includes 200 Premium uses a month.
What happened to Magic Studio?
Canva has folded the Magic Studio features into the Canva AI brand. You’ll find them behind the Canva AI button in the left panel and inside the editor.
Can I write Canva AI prompts in other languages?
Yes. Canva AI understands prompts in many languages. Text rendered inside AI images can sometimes come out garbled, though, so add text with a text box instead.
Can I use Canva AI images commercially?
Generally yes under Canva’s terms, but check the current terms yourself and never create content that infringes copyright or trademarks or impersonates real people.
How do I stop Canva AI designs looking like templates?
Apply your brand colors and fonts, replace stock illustrations with real photos, adjust the layout and rewrite the copy in your own voice.
Conclusion
The best way to use Canva AI is to let the AI make a fast first draft and then finish the details yourself in the editor: check the text, apply brand colors and swap in real photos. With 20 uses a month, the Free plan lets you try most features. If you design every day, Pro with 200 uses and advanced photo tools is better value. Find more tutorials in our AI guides.
